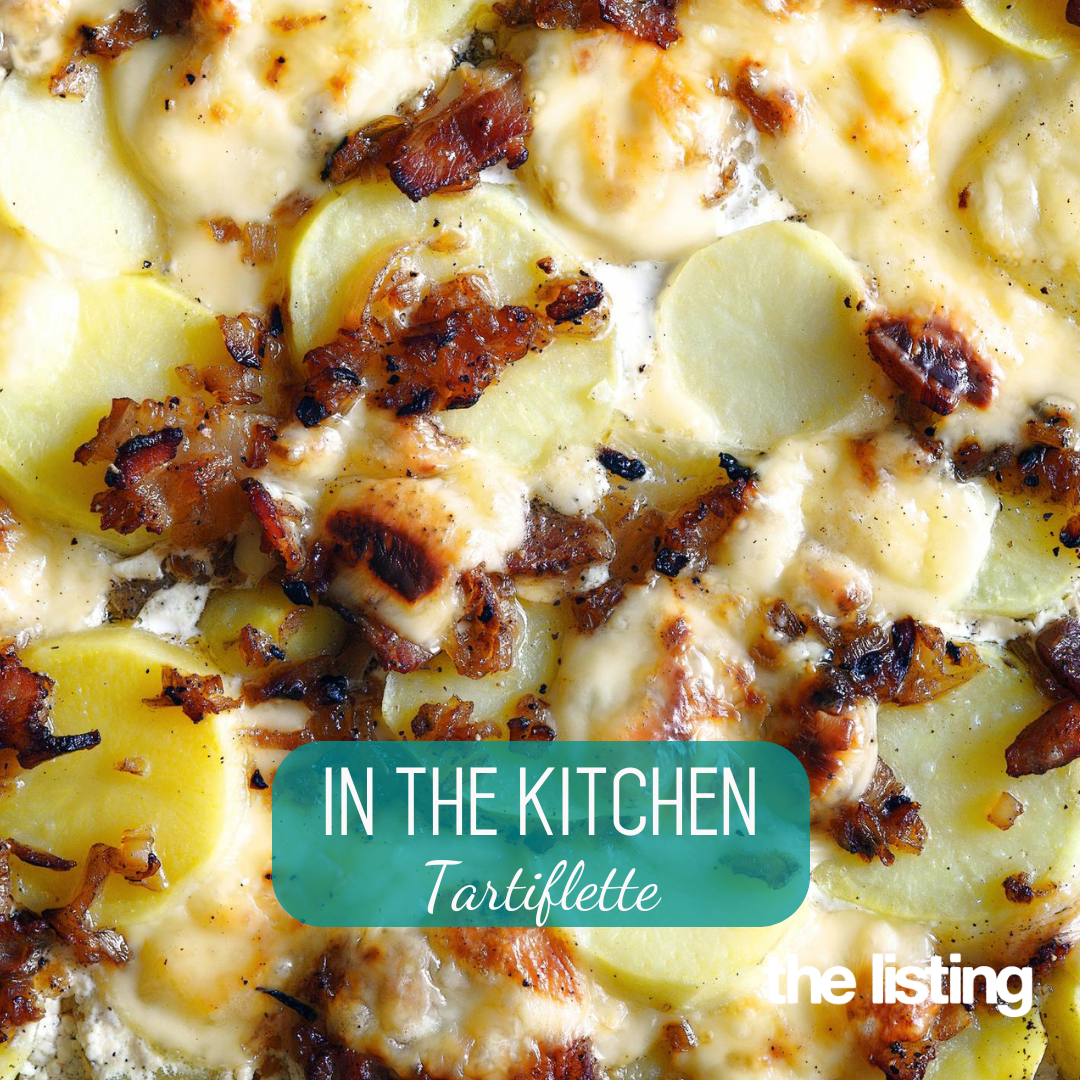

Tallulah’s Kitchen… Pâté à Choux
Hello and Welcome to May’s edition of The Listing.
This month I was lucky enough to be able to hop on the Eurostar and spend a few spring days in Paris. Amongst the sights, and the food and drink (oh the food!) I was able to enjoy a cookery class and brushed up on my baking skills.
So, this month I would like to try something a little different…a recipe in two instalments- this month the basic Pâté à Choux and next month a fancy topping and delicious fillings.
125g water
125g milk
15g sugar
6g salt
150g flour
4-5 eggs (200-250g)
Nibbed (or Pearl) sugar to sprinkle on top
Oven temp 200° The first point to mention is that we were taught that everything is weighed and therefore all ingredients are in ratio to each other. Secondly, the exact amount of egg is tricky to state as it is a certain consistency we are aiming for.
So let’s begin!
1. Heat the butter, milk, water, salt and sugar on a low heat. When the butter has melted bring to the boil and remove from the heat.
2. Next, add all the flour in one go and beat the mixture together. This should be a fast and somewhat furious process to ensure thorough mixing without lumps forming.
3. Now place back on the heat and continue to mix furiously until the mixture forms a dry ball that comes away from the pan. (we are aiming to cook out the rest of the flour and drive off as much moisture as possible.)
4. Next, remove from the heat and add the beaten egg a little each time, mixing hard between each addition. The mixture will become smooth and glossy. When the mixture holds itself in a “V” shaped drop off of the back of a wooden spoon, you have reached the desired consistency. Don’t be tempted to add too much egg as this will make the finished pastry flat and heavy.
5. Now pop the mixture in a piping bag (if necessary the mix will keep like this in the fridge for 3 days.)
We shall proceed as if making a simple Choux bun. So onto a baking tray we are going to pipe “ball” shapes about the size of a walnut. Hold the nozzle at 90° to the tray and maintain a firm pressure. If you are not pleased with your shape then simply scrape it off (return it to the piping bag) and pipe out more. Take care to leave plenty of space between them as they will double in size as they cook. Soften down any “poking up tails“ with a finger dipped into beaten egg as tails will burn!
6. Then gently egg wash and sprinkle with nibbed sugar and bake for 20-25 mins. Do not open the oven at all in the first 20 minutes as this will cause the buns to collapse. You should have perfect crispy, hollow puff ball buns with a crispy sugar top. Enjoy fresh out of the oven as they are or wait until they have cooled and fill with whipped cream.
Next time I will share with you the recipes for fillings and Craquelin topping.